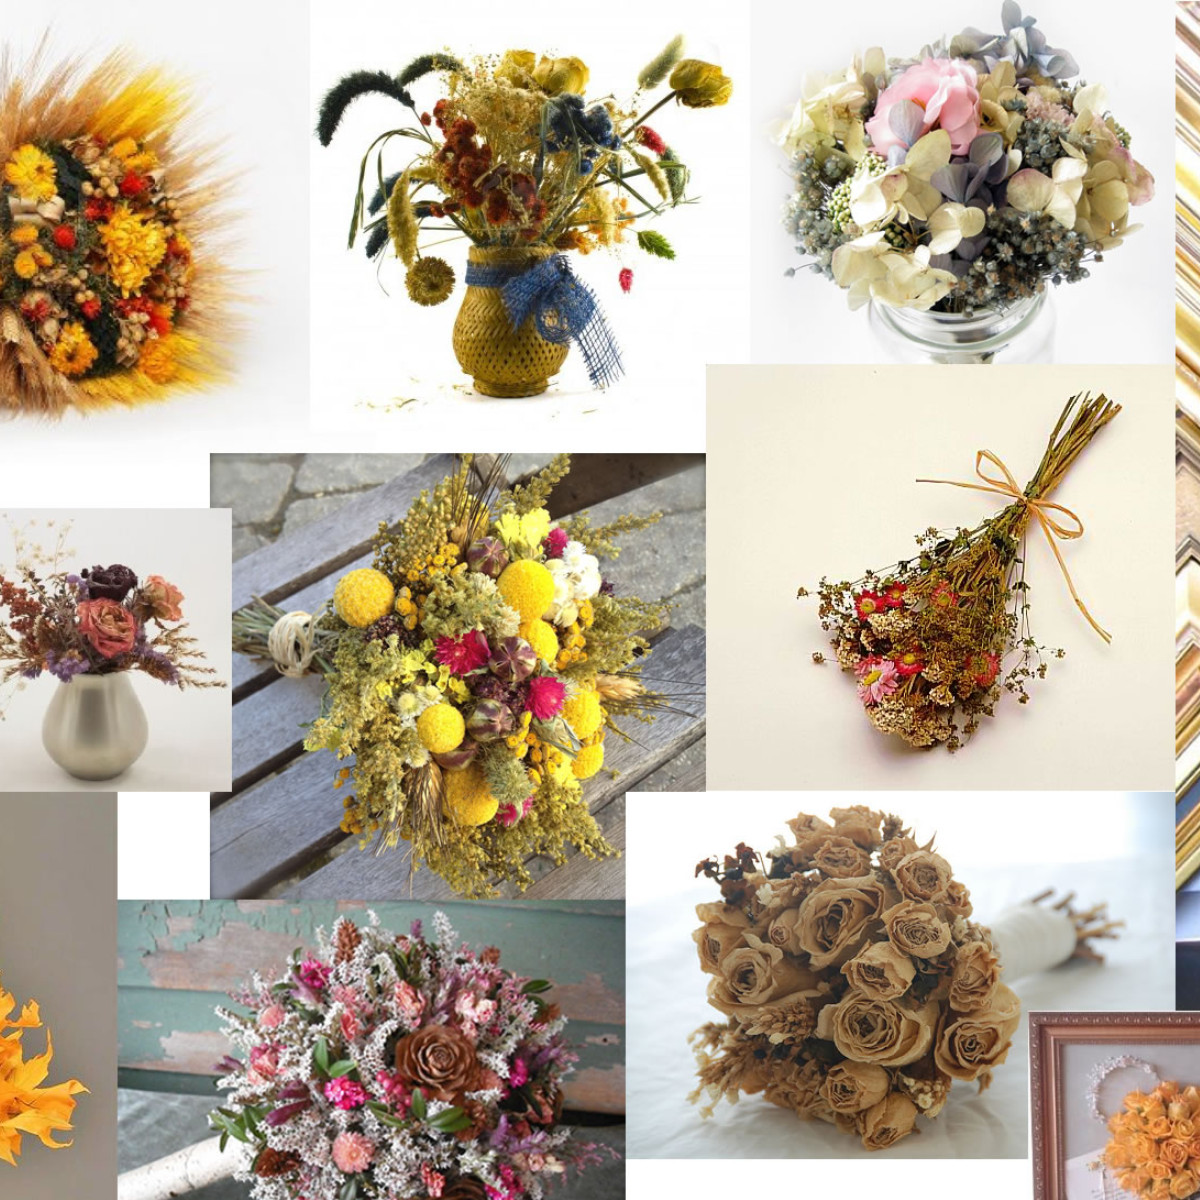

dried bouquet
Dry the bouquet
Air-drying can be very successful with herbs, everlastings and ornamental grasses. This method works with roses as well. Choose perfect plants with long stems, removing the lower leaves. You can preserve flowers by hanging then to air dry. Divide into small bunches that are no more than 4cm (1.5 inch) thick at the stems. Tie stems together then open each bunch into a fan shape. Hang upside down in a warm, dry dark place. The heads should not touch. This process takes one to three weeks until they are completely dry but is the easiest. Check the flowers after one to two weeks. If they have not dried, leave them another week. The colors will usually be muted.
Silica gel
Another method of drying flowers is to use a desiccant drying mixture such as silica gel, borax, cornmeal or alum. The following recipe uses silica gel.
Pour 2-3cm (1 inch) of silica gel into a shallow, tin or plastic container with an airtight lid. Cut the stems of your flowers to fit the container. Arrange the flowers neatly on top of the silica gel inside the container. Place flowers face side up, unless drying flowers with flat faces, such as daisies. Spoon more silica gel carefully over the top of the flowers. Add enough to equal an additional inch, or to cover the petals completely. Keep the petals in as natural a shape as possible. Cover the container with its lid and set it aside for two to five days. The flowers are dry when they are crisp, but not brittle. Lift the dried flowers from the silica gel and brush away the crystals with a soft cosmetic or paint brush. Pour the silica gel in a shallow baking pan. Dry the silica gel for one hour in a 250-degree oven to prepare it for drying and preserving additional flowers.
Waxing flowers
You may want to experiment with waxing fresh flowers. This is simple: just melt some paraffin wax and plunge each individual flower into the wax. Remove and shake the excess wax off each flower. Put it into the refrigerator to set and harden.
Drying with glycerin
This method keeps some flowers soft and pliable for easier handling and less shedding. Try this method with eucalyptus, babys breath, statice and is the best way to preserve leaves.
Mix 1 part vegetable glycerine (available at Pharmacies) to 2 parts hot tap water, using enough to make the mixture about 5cm (2 inches) deep. Smash with a hammer the bottom 2-5cm (1-2 inch) of the flowers stems to help them absorb the glycerine quickly. Place the flowers stems in the glycerine-water mixture, and leave 3 to 5 days so the flowers can absorb the glycerine. Babys breath can take 1 to 2 weeks, wait until the stems turn tan. You can tell when the flowers have absorbed enough glycerine by the way they look and feel. A good way to test if they are ready is to let one stem air dry and compare it to the flowers in the glycerin after a few days. If the air dried flower feels dry and the flowers in the glycerine feel soft and look slightly darker in color they're probably ready to be taken out of the glycerine mixture. Cut off the part of the stem that was setting in the glycerin. Allow the flowers to air dry for a week or so before storing. The glycerine/water mixture can be reused several times.
Consider that all drying techniques may require additional wiring techniques to support the weight of flowers and reshape the plant.
Display your dried flowers in the house as vase bouquet. Framedbouquet and displays are also to be considered for the wedding bouquet. If you wish to store your dried flowers for later use, seal them in airtight containers such as tins or plastic boxes sealed with masking tape, or in sealed cardboard boxes enclosed in airtight plastic bags.
[caption id="attachment_523" align="aligncenter" width="300"]
 pressed flowers[/caption]
Pressing
Most flowers and leaves are suitable for pressing except those with bulky centres of thick, fleshy leaves. You may wont to press some flowers by taking apart and press each individual flower section (leaves, petals, flowers, roots). Also you can cut odd shaped flowers or buds in half and open them for pressing. Further more you can press individual petals and assemble them after pressing to make flowers.
To press flowers you need a flower press or make your own press using heavy books and two pieces of plain cartboards. Place a piece of plain cartboard on your press or a book with hardcover. Add a layer of blotting paper. Position the flowers or leaves on blotting paper so they do not touch each other. On top of the flowers add another layer of blotting paper and on top of it add the other piece of cartboard. Now you have to close the press if you use one or to add another hardcover heavy book on top. If you are using books now is important to keep the pressed plants without moving them to not change their shape. Put the press in a place where can stay to dry several weeks. After few days tighten the press bolts again or add another heavy book on top as the flowers dry, they will shrink. Flowers can take between one and three weeks to dry; leaves and individual petals take one week.
Optional you can place small flowers between the pages of a heavy book. Check the flowers at the end of the week.
Heat pressing
This method is suitable for preserving colourful leaves in the fall and other flat plat materials.
You will need sheets of waxed paper and an iron. Place a piece of cardboard down on your ironing board. On top of that put a sheet of waxed paper. Arrange leaves or flat plants material on it without allowing them to touch. Put another waxed paper on top of plant material. Press it with hot DRY iron. Let the plant material to cool completely before handling. Peel from waxed paper and discard the paper.
The pressed flowers you can use them for herbarium or ascherished memories in a photo albums or frame them with care by creating spectacular one-of-the-kind arrangements. You even can reassemble or creating new features from detached individual dried plant parts.
preserving